Short answer: To finish the Barrel Set to a tabletop standard, meaning it looks convincing at arm's length across the table, batch paint all five barrels together. The order is: dark undercoat, one base colour, sponge chipping, stippled rust, streaks and leaks, bright metal in the bullet holes, then dust and mud around the bottom. Seal everything with matt varnish, then add gloss varnish to the fuel leaks only. You're not building a display piece here, just terrain that looks right on the table.
What's in the Barrel Set, and why is it quick to paint?
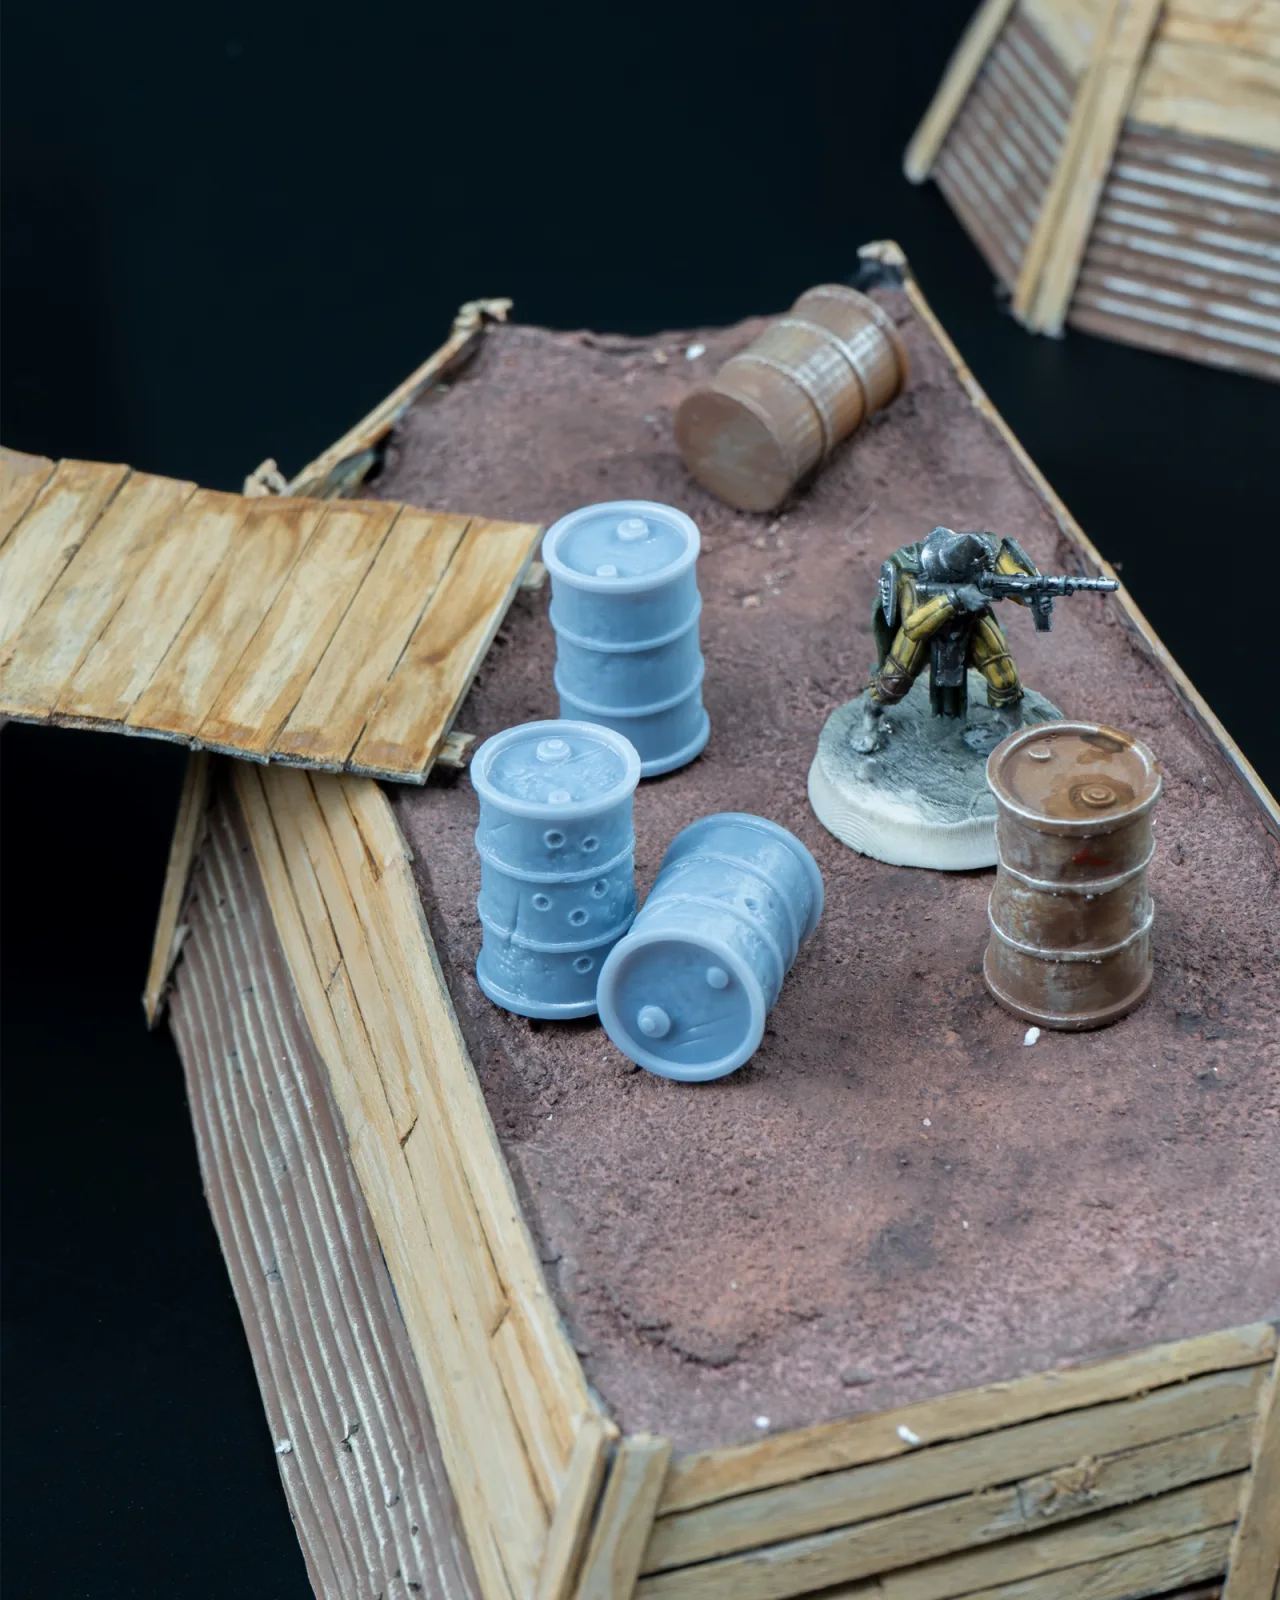
The Barrel Set is five barrels, supplied unpainted. They carry details like dents, bullet holes and riveted lids. Those details do half the work for you, because rust and grime naturally collect in the recesses, so your job is mostly to bring them out. A sponge and some stippling cover most of the broad, plain surfaces. You only need a fine brush for the bullet holes.
How do you prep the barrels?
1. Wash and clean
Wash the parts in lukewarm soapy water and let them dry completely. Grease and dust on the surface stop primer from gripping. If you spot any nub or mark on the surface, clean it up before priming. The full method is in our guide to cleaning and degreasing minis.
2. Mount them on a handle
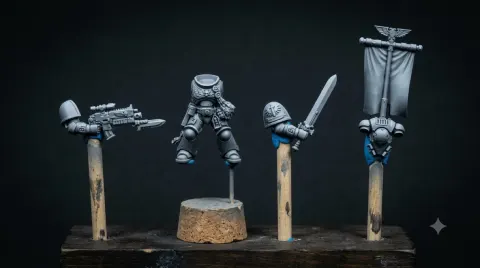
Turn the barrels in your fingers and you'll leave prints and rub off paint. Put a small blob of tack putty under each barrel and press it onto a Miniature Painting Handle. If you prefer a clamp-style handle, stick the barrel to a round base or a bottle cap with putty and clamp that in the jaws of the Adjustable Painting Handle V2, which grips bases from 20 to 60 mm.
3. Dark undercoat
Go with a black or very dark brown primer. A dark base gives you that bare-metal look under the rust and chips for free, so you get depth from the very first coat. If you're using a rattle can, hold it about 20-30 cm away and use short bursts, turning the barrels so every side gets covered. Thin, even coats are enough; don't flood the recesses. Let the primer dry fully before you start painting. For more on choosing and applying primer, see our priming and undercoating guide.
Which colour scheme should you pick?
Two schemes work well and complement each other on the table:
- Fuel drum: A military or olive green base. Add a slightly lighter olive highlight around the lid and dark brown-black wear on the edges.
- Hazard drum: A dark red or signal yellow base. For contrast you can run a dark grey band around the middle. Rust really pops on the yellow one.
Across five barrels, three green, one red and one yellow makes a balanced cluster. You can also paint them all the same colour and get variety from how weathered each one is.
How do you paint them, step by step?
4. Base colour
Lay down the base colour with a broad brush in two thin coats. It's fine if the dark primer still shows a little in the recesses; it actually helps. On the hazard drum, yellow covers much faster over an off-white layer first.
5. Sponge chipping
Dab a piece of foam sponge into a dark brown-black mix. Wipe most of it off on paper, then press it lightly onto the rims, the bottom ring and around the lid. The sponge leaves small, random-looking chips. Start light, because adding more is easier than taking it away. The technique is covered in detail in our sponge weathering guide.
6. Layered rust
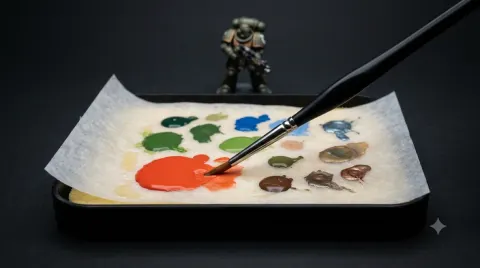
Stipple the rust on in three tones with a stiff old brush: first a dark red-brown, then rust orange, and finally just a touch of light orange. Put each tone over a slightly smaller area than the one before. Rust gathers most inside the chips, on the bottom ring and around the rivets. Keep your rust tones on a Wet Palette and they stay workable until all five barrels are done, which makes mixing between them easy. For how to build rust up in layers, see our rust effects guide.
7. Streaks and leaks
For rust streaks, pull thinned rust orange down in fine lines from under the rivets and holes. For fuel leaks, mix dark brown with black and run a few drips down from around the lid. At this stage you're only adding colour; leave the shine for the very end. For more examples, check our streaking and grime guide.
8. Bullet holes
Darken the inside of each bullet hole and a thin ring around it with black. Then run a fine line of silver along the inner edge with a detail brush. That line reads as freshly torn metal that hasn't had time to rust. The damage looks recent, and the eye goes straight to it.
9. Dust and mud at the bottom
Drybrush earth brown and light beige over the lower third of each barrel, heavy at the bottom and fading out as you go up. If you have weathering pigments, press a little into the bottom ring and blow off the excess. The details are in our mud and dirt effects guide.
10. Matt finish, glossy leaks
First seal the whole barrel with matt varnish. A matt finish makes the rust and dust look real and locks the pigment in place. Once the varnish is fully dry, use a fine brush to add gloss varnish over the fuel leaks only. That's where the wet, oily look comes from, and keeping the shine to the fuel alone boosts the contrast even more.
How do you paint all five at once?
Do each step on all five barrels in turn, then move on to the next step. By the time you're back at the first barrel, the thin coat has usually dried, so there's no waiting around. You also save time by not switching brushes and colours all the time. It's the same flow as in our batch painting guide.
How do you add variety to the barrels?
- Leave one barrel almost new: a few chips and no streaks at all.
- Make one completely rusted, with the base colour showing only in patches.
- Set one up as tipped over and empty. Keep the lid area dry and let the leak end in a stain on the ground.
- On one of the hazard drums, show half the band worn away.
Where do barrels fit in a scene?
Barrels can sit in a cluster in the corner of a depot, fill the gaps in a barricade or stand behind a trench as spare fuel. Put them together with the Sandbag Set and a Czech Hedgehog and you have a checkpoint in no time. If you want to build a whole trench from scratch, this five-barrel Barrel Set is one of the seven pieces in the Trench Line Terrain Set, and the same painting approach carries over to the rest of the set. Before you share the finished cluster, our guide to photographing miniatures with a phone will help you get a good shot.
Frequently asked questions
What if I use a light primer?
It works, but it takes longer. Over a light primer you have to paint in the darkness under the rust and chips by hand. A dark primer solves that step from the start.
What can I use if I don't have a sponge?
A small piece torn from packing foam does the job. What matters is an irregular texture and wiping off the excess paint.
Can I put gloss varnish on the whole barrel?
I wouldn't. Shiny rust and dust look like plastic. Keeping the gloss on the fuel leaks only makes them read as much wetter. And apply the gloss last, over the matt varnish.
How long do five barrels take?
Leaving out drying time, five barrels are a relaxed evening's work. What really holds you up is the primer and varnish drying, and that depends on how thin your paint is and how warm the room is. If you prime a day ahead, it's easy to finish the painting in one sitting.
Should I glue the barrels to bases?
Free-standing barrels let you set up the scene differently every game. If you're building a fixed diorama and want to prepare a base, you can glue the barrels to a small base and blend their bottoms into the ground work.
Will rust tones dry out without a Wet Palette?
Thinned-down tones dry fast on a flat palette, and you'll keep remixing them across five barrels. A Wet Palette keeps them workable for a long time. For thicker mixes, a Dry Palette does the job too.
In short: Dark undercoat, one base colour, sponge chipping, three-tone rust, streaks and leaks, a metal edge in the bullet holes, dust at the bottom, matt varnish and finally gloss on the leaks. Run these steps across all five barrels in turn and you end up with a varied, table-ready cluster of barrels.
To get started with five barrels, take a look at the Barrel Set. If you'd rather build the whole scene in one go, the Trench Line Terrain Set includes the five-barrel Barrel Set along with a Czech hedgehog, a long Czech hedgehog, sandbags, barbed wire, a ladder and a bridge.